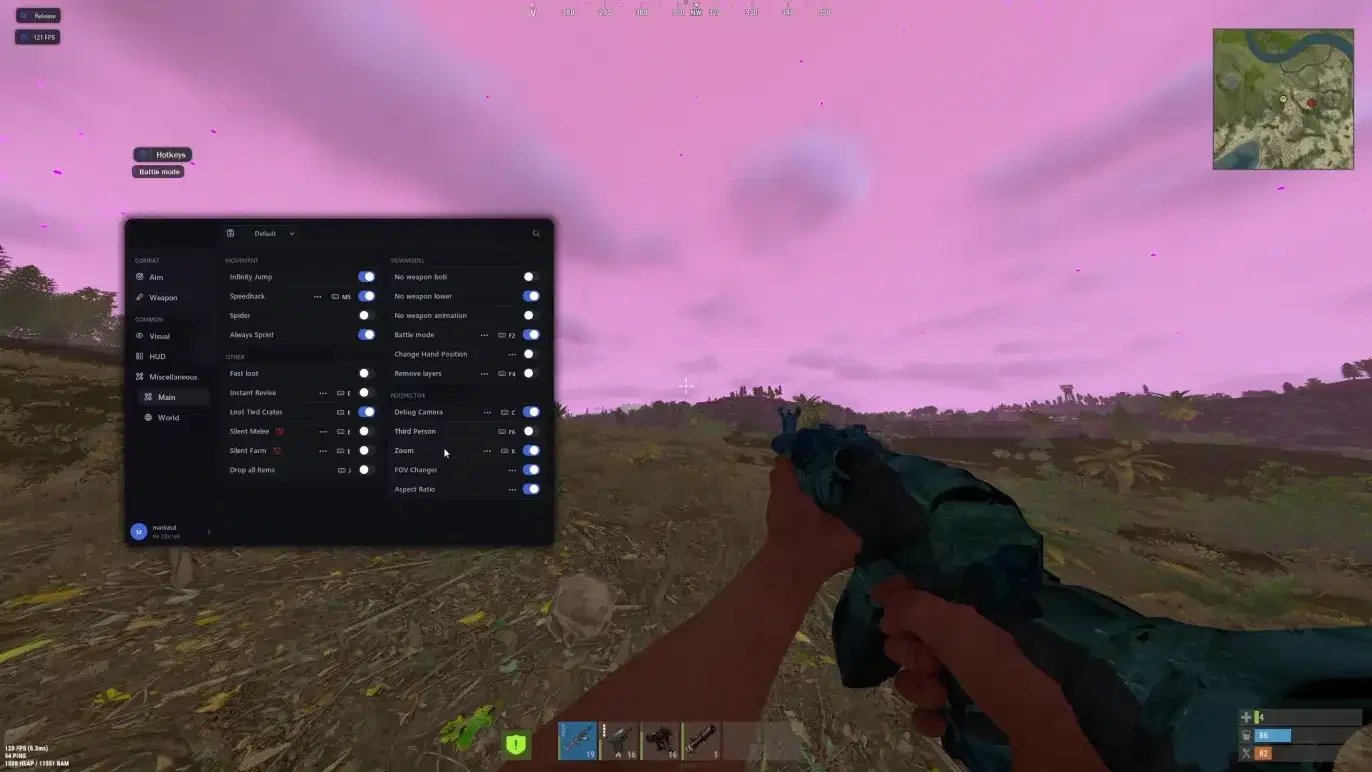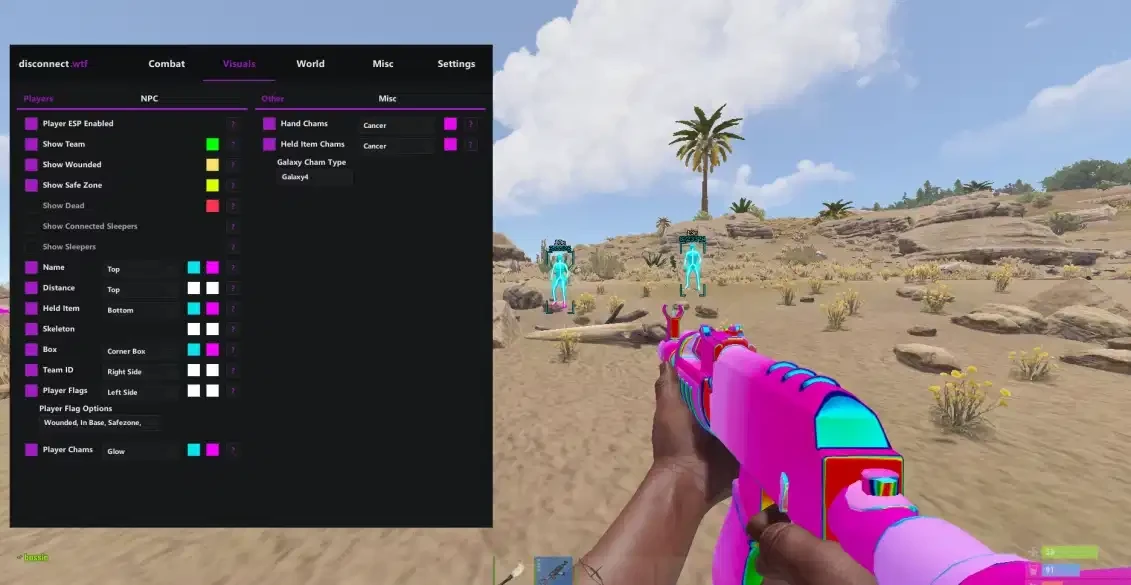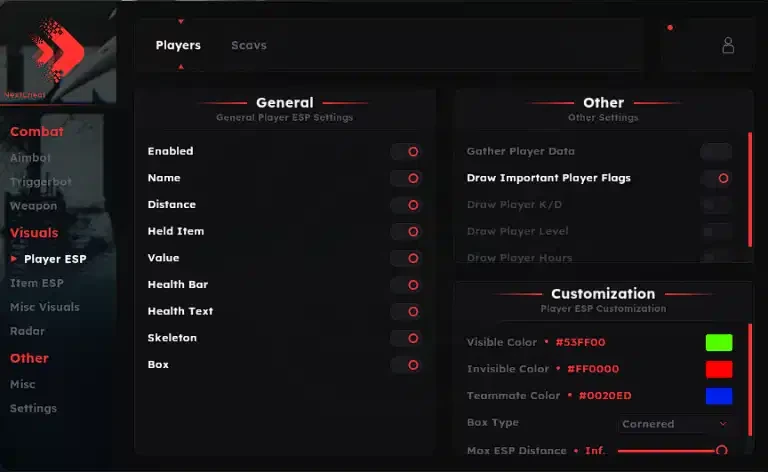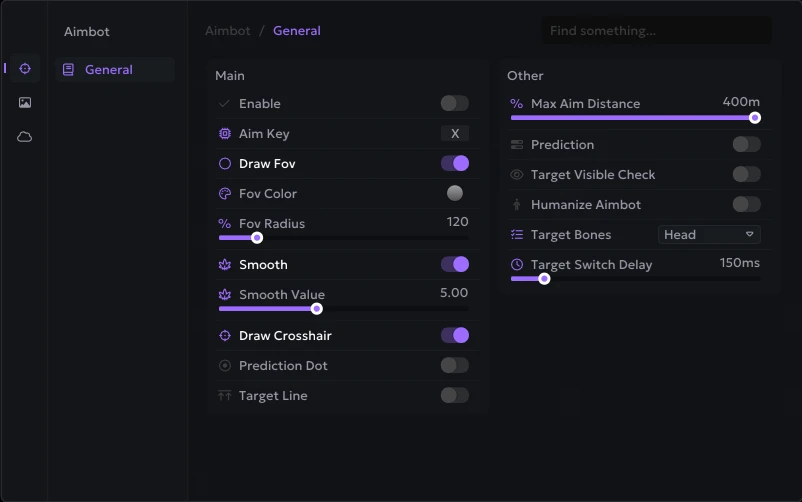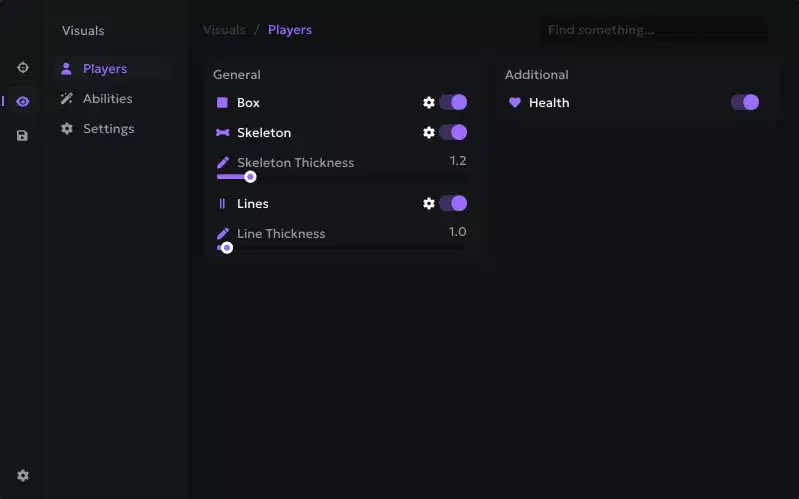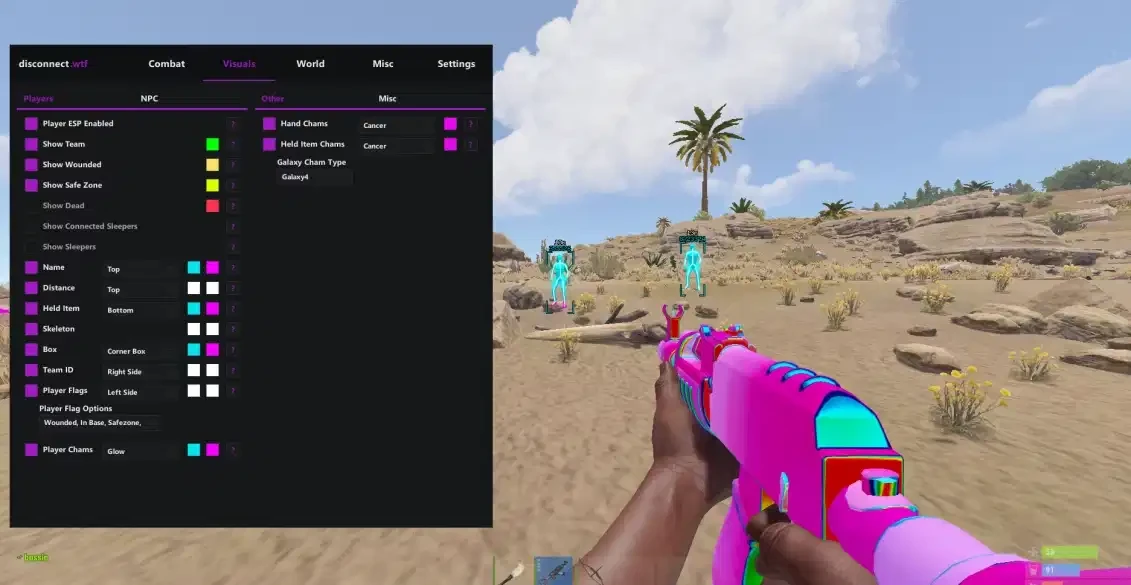
Welcome to the official setup guide for the Rust Disconnect Internal Cheat. If you haven't purchased a license yet, you can do so here: Buy Now
Important Safety Note If you are using an external spoofer, always run the cheat first and then the spoofer. Running the spoofer before the cheat will result in a ban.
Technical Information
- Internal Performance: Internal products run directly within the game process, offering superior performance and FPS.
- No Built-in Spoofer: This product does not include an integrated spoofer. If you have an active hardware ban (HWID), you will need to purchase a separate spoofer.
- Get a Spoofer: Buy External Spoofer
Required Files & Pre-Setup
1. Required Files Download and install these components before starting:
2. Disable Security Features
- Disable Windows Defender and any third-party antivirus software.
- Disable any running anti-cheats (like FACEIT, Vanguard).
- Disable Secure Boot in your BIOS.
- Ensure your BIOS mode is set to UEFI (Search YouTube for "How to set BIOS mode to UEFI [Your Motherboard Name]" if you are unsure).
Loader Setup & Injection
Installation
- Visit the loader installation page linked in your dashboard.
- Enter your license key.
- Wait for the custom loader build to download to your PC.
Login & Injection
- Launch the downloaded loader (Only run the loader once per session; multiple instances are blocked).
- Log in to your existing account or register with your license.
- Navigate to the products page and select the Rust Disconnect Internal product.
- Pre-Injection Check: Verify all security features and antiviruses are disabled.
- Inject the product and wait for confirmation.
- Launch Rust.
(Note: Always restart your PC after initial installation and before launching the game).
Troubleshooting Guide
If quick fixes don't work, open a support ticket with your provider. Include your error code and attach Loader.log and Internal.log (found in C:\Users\Public\).
Staging Errors (Before Injection)
- ISP Blocking / Firewall Issue: Connect to a VPN (preferably a different region), disable Windows Defender Firewall, and disable your ISP's internet protection.
- Authentication Response Failure: Download a fresh loader using a valid license and connect to a VPN.
- Resource Lookup Failure: Install Visual C++ Runtimes and DirectX. Update Windows to the latest version.
- Module Allocation / Setup Failure: Completely uninstall antivirus and system monitoring tools using Defender Control.
Bypass Failures
Most critical bypass failures resolve with this checklist:
- Uninstall antivirus and FACEIT/persistent anti-cheats.
- Disable the Vulnerable Driver Blocklist in Windows settings.
- Disable Virtualization Based Security (VBS).
- Kaspersky Anti-Virus is known to cause bypass issues — completely uninstall it.
- If you have more than one RAM stick, try unplugging one temporarily.
- Disable kernel verifier if you use kernel development tools.
- Restart your PC fresh and re-inject.
Injection Failures
- Module Write Failure: Restart your PC, uninstall antivirus, and re-inject.
- Client Connection Failure: Make sure your Rust config isn't read-only. Fully reinstall Rust, run Steam as Admin, and disable antivirus.
- Client Mapping / Communication Failure: Reinstall VCRedist and DirectX, update Windows, and fully reinstall Rust.
Game Crashes & Performance
- Crashing While Loading Server: Internal cheats are memory-heavy. Exhausted system resources cause crashes. Increase your page file size (see below). Fully reinstall Rust. If on Windows 10, consider upgrading to Windows 11.
- Cheat Crashes (Steam window appears): Restart your PC fresh and re-inject. Ensure no antivirus is running.
- FPS Drops / Lag: Limit your in-game Rust FPS to share CPU resources with the cheat. Enable the cheat's optimized rendering options in the menu.
General Fixes
- Validation Failure (Code: 0x15): You have more than one loader open. Close all instances; only one active session is allowed.
- Invalid Device Identifiers: Request an HWID reset from support with your license or username.
Advanced Configurations
How to Increase Page File Size Ensure you have 64GB+ free space on your primary Windows drive.
- Search Windows for "advanced system settings" and open it.
- Go to Performance → Settings → Advanced → Virtual Memory → Change.
- Uncheck "Automatically manage page file size for all drives".
- Select Custom size, and enter the values recommended by support.
- Click Set, then OK on all pages. Restart your PC.
How to Collect Logs for Support
- Open the loader and log in.
- Before selecting a product, click the Settings tab and enable all log checkboxes.
- Inject the product and wait for the error to occur (wait 30–60 seconds).
- Open File Explorer and go to
C:\Users\Public\. - Attach the
.logfiles (Loader.log,Rust.log,Internal.log) to your support ticket.